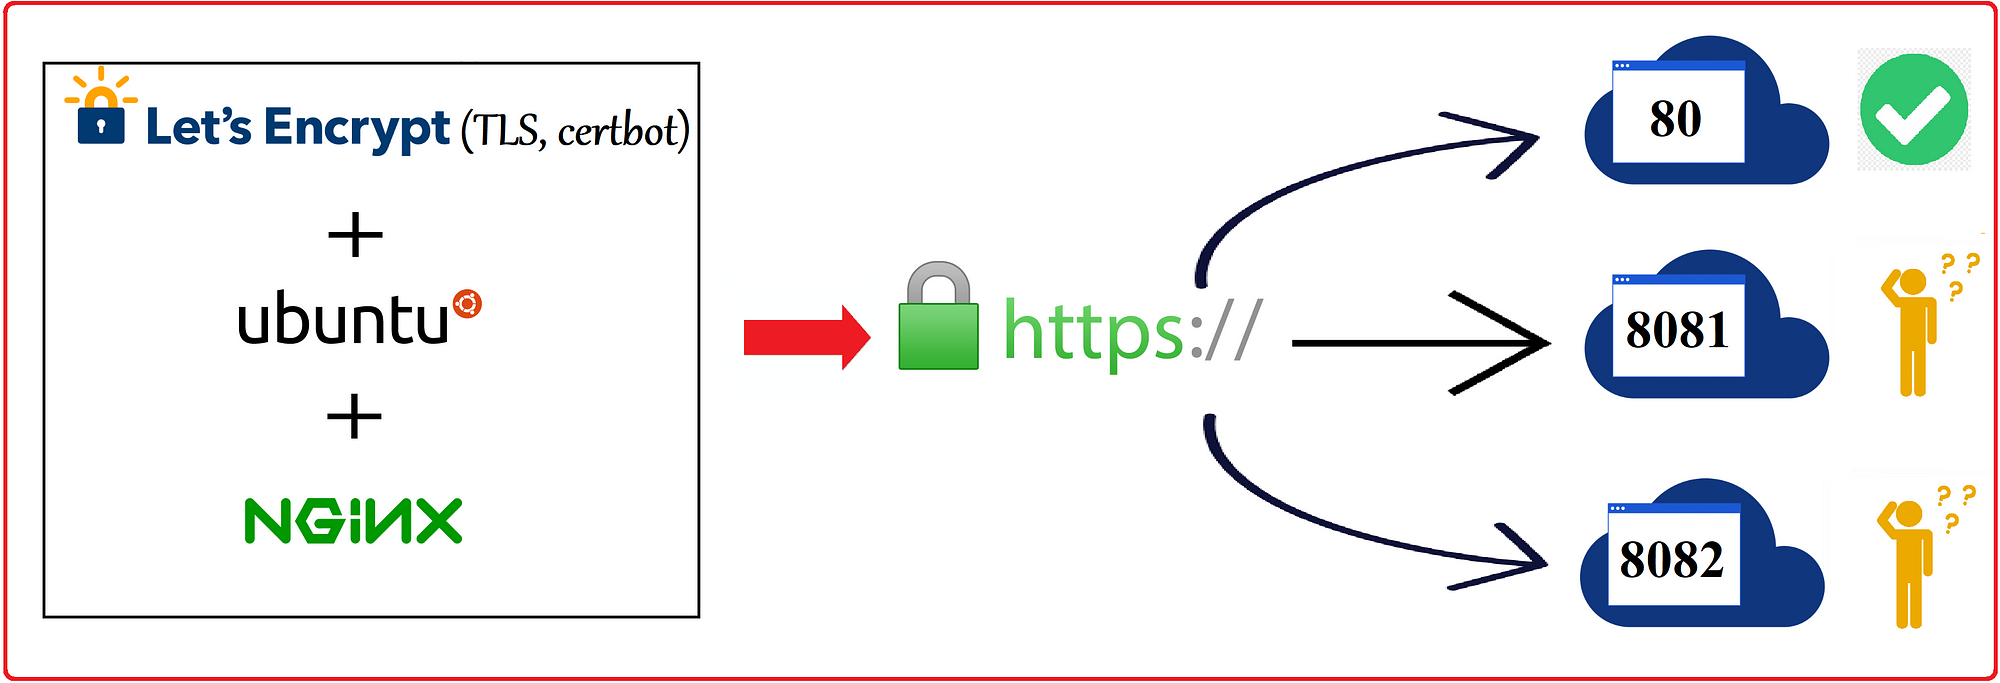
SSL in Nginx with Certbot and Configure Auto-Renewal
How to Install Let's Encrypt SSL with Nginx on Ubuntu 20.04 And configure Auto renewal
This is a step-by-step instruction on how to install Let's Encrypt SSL with Nginx on your Ubuntu 20.04 server. I will provide several useful settings that will make the configuration process easy and smart. Please note that I will use different commands based on the Ubuntu version differences.
Prerequisites
Before we begin, ensure you have the following:
- Ubuntu 20.04 or Ubuntu 20.10
- At least 1024 MB RAM
- Enough disk space (GB)
- vCPU or higher
- Internet connection to download software
- Root privileges
Step 1 — Install Certbot (LetsEncrypt)
Before installing new software, always update the list of packages to ensure your software is up to date:
sudo apt update
Add the software repository for Ubuntu 20.10:
sudo apt install software-properties-commonsudo add-apt-repository ppa:certbot/certbotsudo apt updateNow, to install Certbot (LetsEncrypt) on your server, run:
sudo apt install certbotThis command will install the Certbot package along with other utilities required for SSL installation.
Step 2 — Configure Nginx for Let's Encrypt SSL
In the following configuration examples, I will use the domain name ssl.sushmitarimal.com.np. Please make sure to replace it with your actual domain when you copy-paste these settings. Let's optimize the process of adding new certificates to your server using a small life hack.
We will use the default Nginx configuration to capture all queries with an unsecured connection to our server (non-SSL), which will target port 80:
                  server {
                      listen  80 default_server;
                      server_name _;
                      location ~ /\.well-known/acme-challenge/ {
                          allow all;
                          root /var/www/letsencrypt;
                          try_files $uri =404;
                          break;
                      }
                  }
As you can see, we are using the /\.well-known/acme-challenge/ directory to catch all requests for the location and /var/www/letsencrypt directory to host acme-challenges. Let's create the directory after you edit the default Nginx vhost config:
sudo mkdir -p /var/www/letsencryptBefore applying changes to your Nginx settings, always check the configuration file:
sudo nginx -tYou should get a notification about the syntax. To apply changes to our new Nginx vhost configuration designed to catch all of your Let's Encrypt certificates challenges, do the following:
sudo service nginx reload
Step 3 — Request New Let's Encrypt SSL
Now it's time to request our first Let's Encrypt SSL certificate for our domain:
sudo letsencrypt certonly -a webroot --webroot-path=/var/www/letsencrypt -m [email protected] --agree-tos -d ssl.sushmitarimal.com.np
Let me describe some important options in our command:
--webroot-path=/var/www/letsencrypt— Here, we configure a directory where all requests will be stored. We previously configured Nginx to serve this directory.-m [email protected]— This option sets up your e-mail address for notifications.--agree-tos— This option is needed to automatically accept the Terms of Service.-d ssl.sushmitarimal.com.np— This option is used to issue an SSL certificate for the desired domain.
After executing the command, you should see a Congratulations message.
Step 4 — Configure NginX vhost
With the new SSL installed in
/etc/letsencrypt/live/ssl.sushmitarimal.com.np/
                  server {
                      server_name itsyndicate.org;
                      listen 443 ssl;
                      ssl on;
                      ssl_certificate     /etc/letsencrypt/live/ssl.sushmitarimal.com.np/fullchain.pem;
                      ssl_certificate_key /etc/letsencrypt/live/ssl.sushmitarimal.com.np/privkey.pem;
                      root /var/www/html/;
                      index index.php index.html index.htm;
                      location ~ /.well-known {
                          root /var/www/letsencrypt;
                          allow all;
                      }
                  }
Let's test and reload our new Nginx configuration:
sudo nginx -t
sudo service nginx reload
Step 5 — Configure Let's Encrypt SSL Auto-Renewal
Let's Encrypt issues certificates that are valid for 90 days. To automate the renewal process, we will use daily cron on our Ubuntu server. Due to different versions of the Certbot package, I will use different renewal commands.
Create the file /etc/cron.daily/letsencrypt and add the following content:
            #!/bin/bash
            /usr/bin/certbot renew --deploy-hook "systemctl reload nginx"
Step 6 — Test SSL Configuration
When we are done with the configuration, it's time to test our SSL setup. There are multiple ways to test SSL, but I will use two methods. First, using curl:
curl -vI https://ssl.sushmitarimal.com.np
The second option is to open your site in Google Chrome and check the SSL certificate in the dev tools under the security section.
Conclusion
Congratulations! You have successfully installed Let's Encrypt SSL on your Ubuntu 20.04 server to secure your site. It is a simple, useful, and cost-effective solution to protect your website. If you have any suggestions or questions, feel free to contact me or leave a comment below.
If you Liked my blog ,Follow on LinkedIn
People who read this also read