How to host a website for free
How to Deploy a Website on Netlify
So you've built a website with a fantastic UI or a fantastic feature. It may be a personal portfolio project or a YouTube tutorial you were watching.
And you'd like to spread the word about the website you've built. It runs well on your computer, and you think it's ready for the rest of the world to see.
However, you are unsure of where to begin. This is where Netlify enters the picture.
What is Netlify?
Netlify is a hosting platform that allows you to easily launch websites and web apps without having to manually configure and manage them.
It includes plenty of features that make it a favorite among today's web developers:
- Deploy in seconds
- Continuous integration and Continuous Deployment (CI/CD)
- Instant Forms: You can collect data from users without having to build a backend
- Prevent spam submissions on Forms
- Easily deploy websites from Github, Gitlab, or Bitbucket
- Host using a custom domain, or Netlify’s own customizable domains
- Analytics for your sites
- Serverless Functions
- Netlify CMS to manage your blog posts
Prerequisites
You'll need a Github account to follow along with this tutorial (or, Gitlab or Bitbucket). To create one, head over to Github to sign up. This is important since that is where you will store your source code.
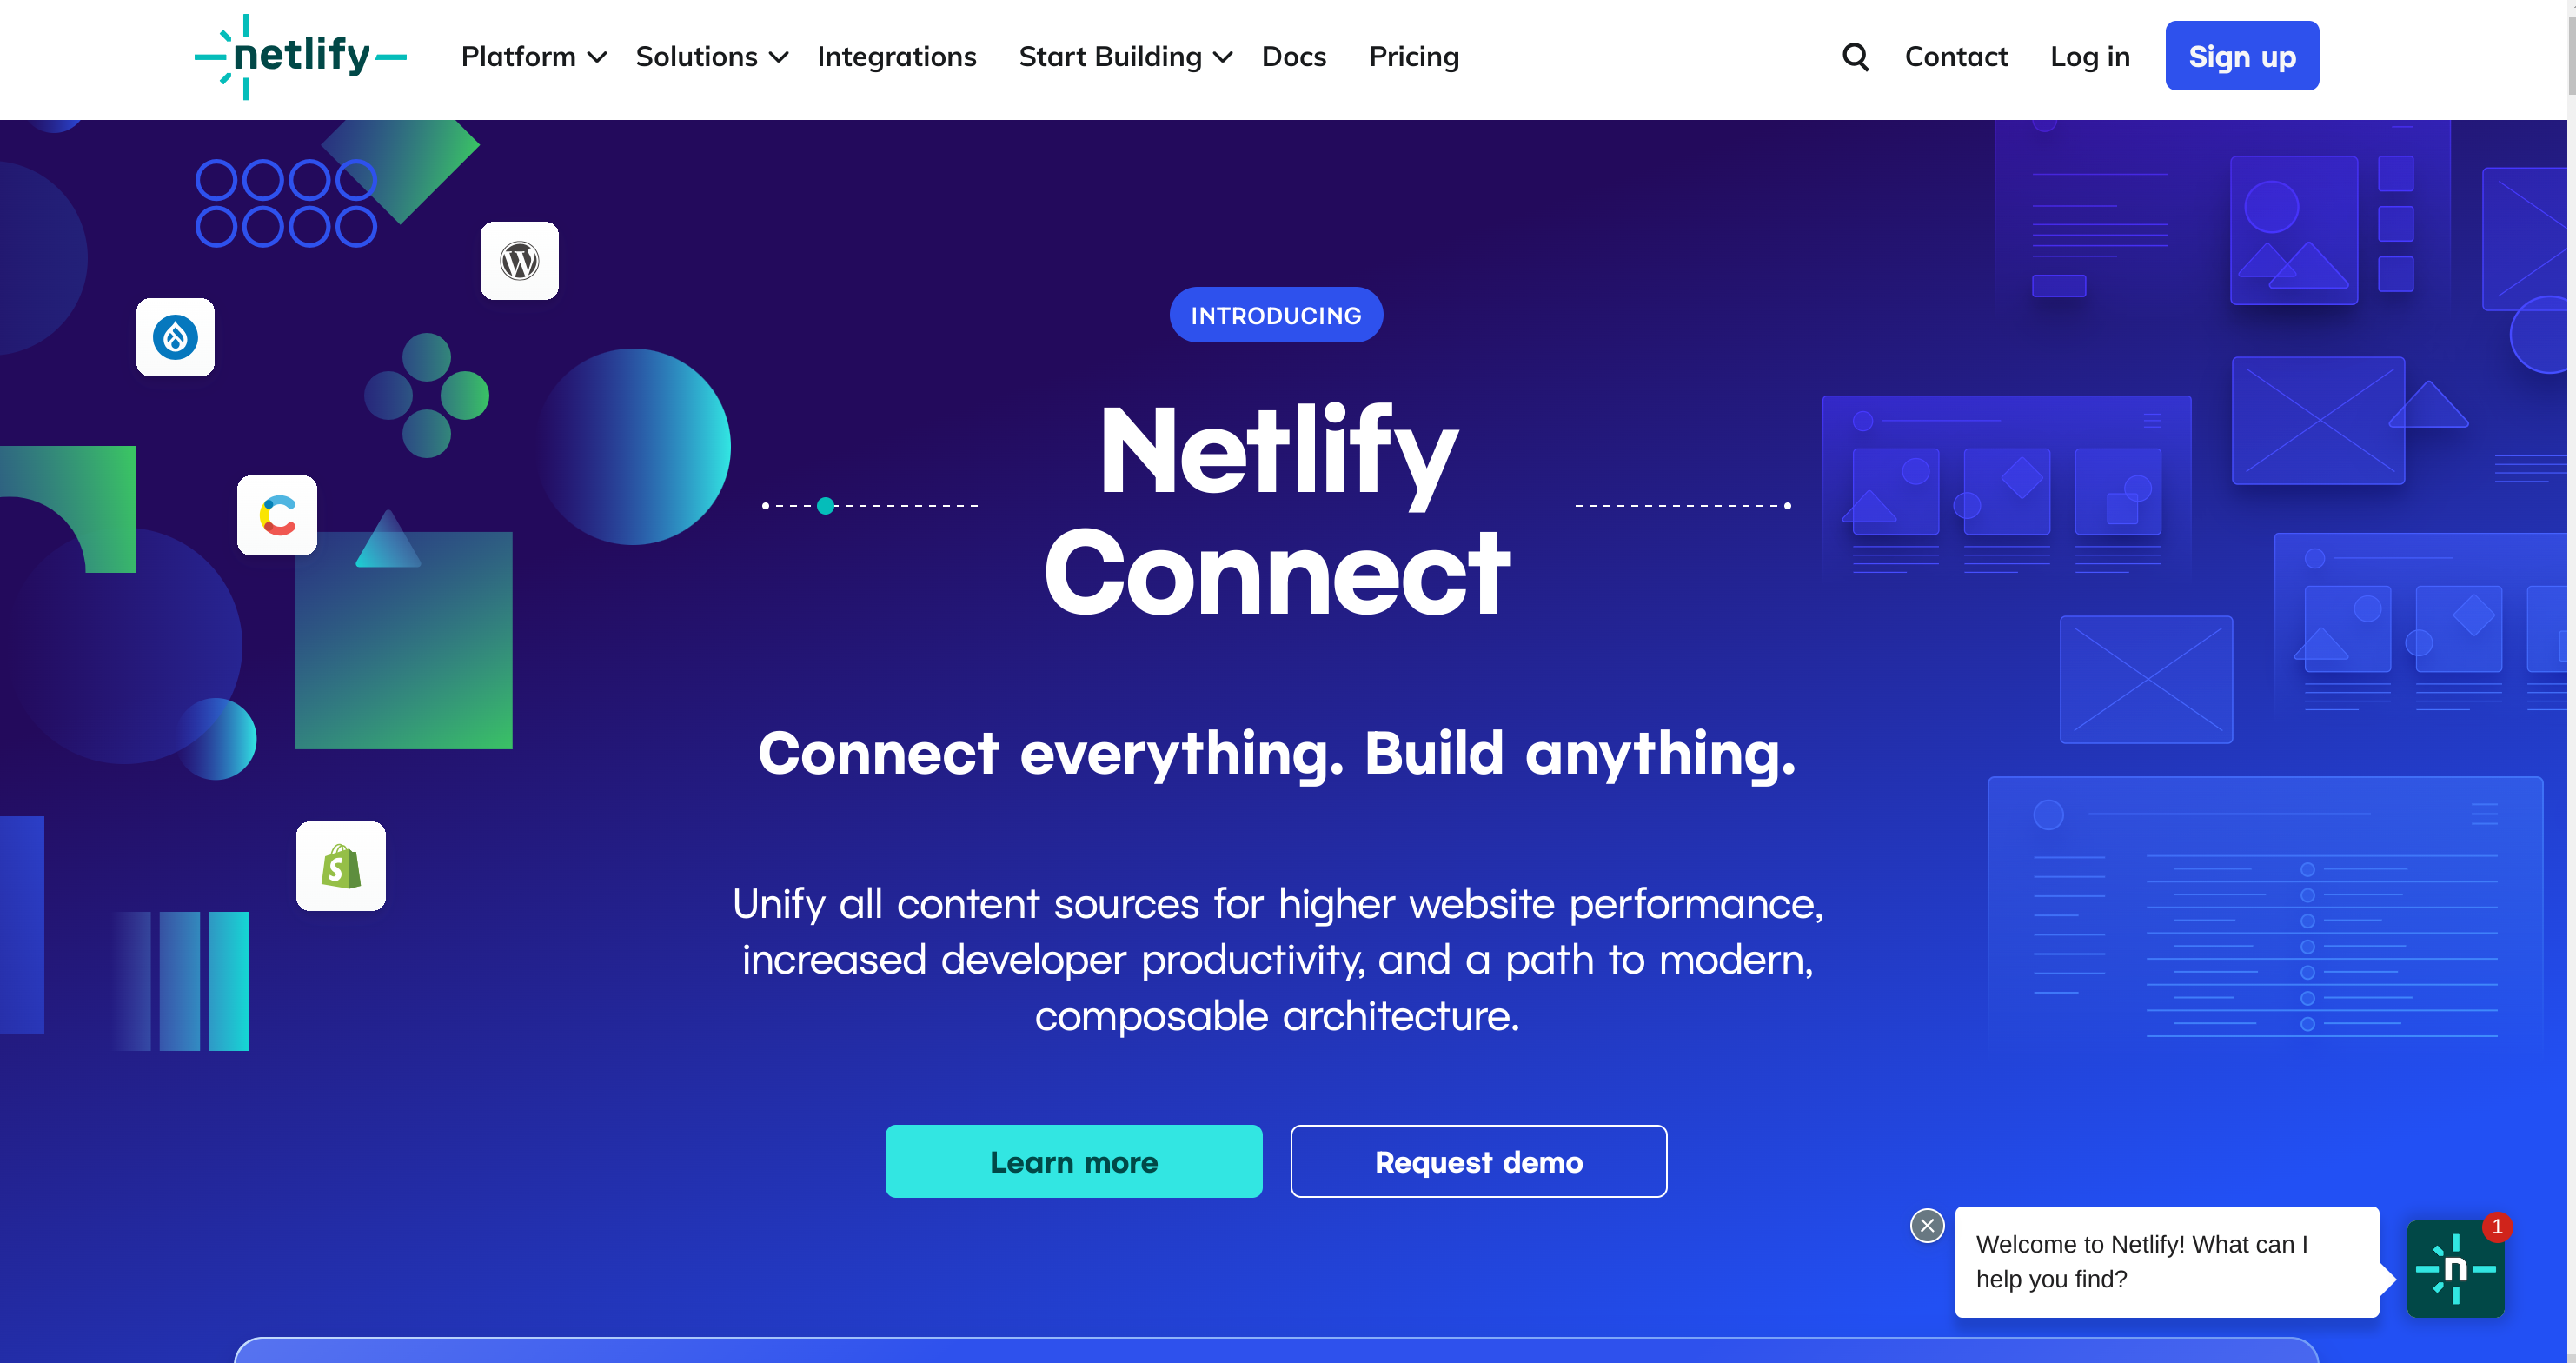
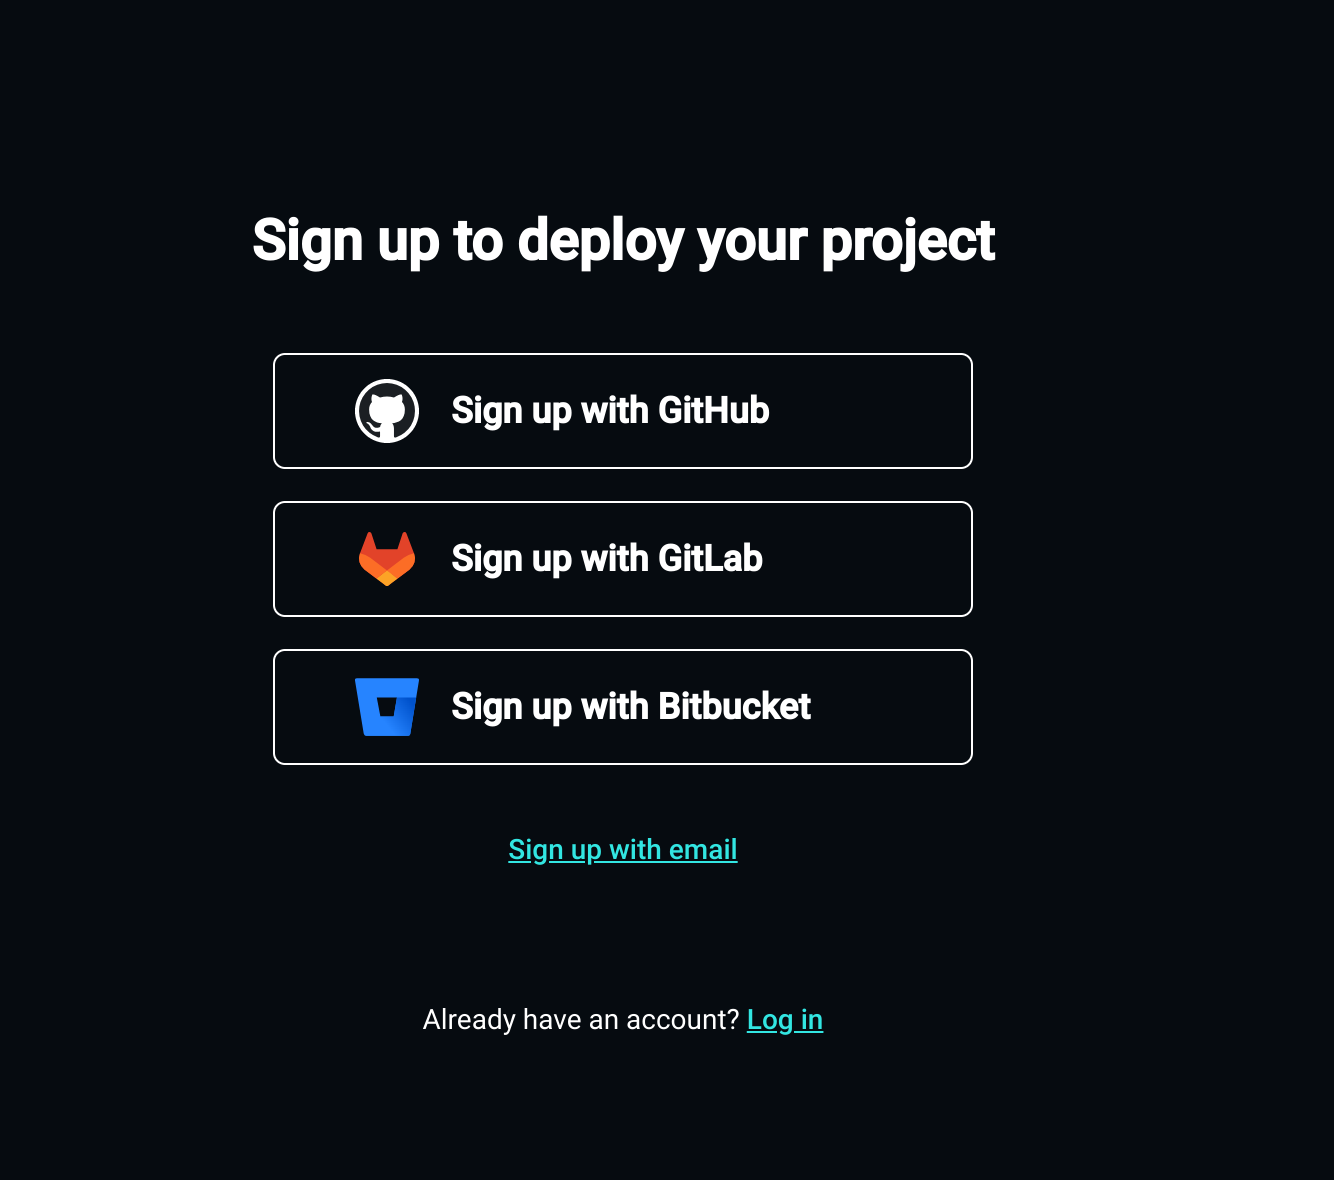
Step 1: Sign up on Netlify
Head over to the Netlify homepage and click on Sign up.
Step 2: Add a new site
After signing up, you’ll be redirected to a dashboard where you can add your site.

Now, to add a site, click on the Add new site button. The dropdown will display 3 options to add a new site:
- Import an existing project
- Start from a template
- Deploy manually
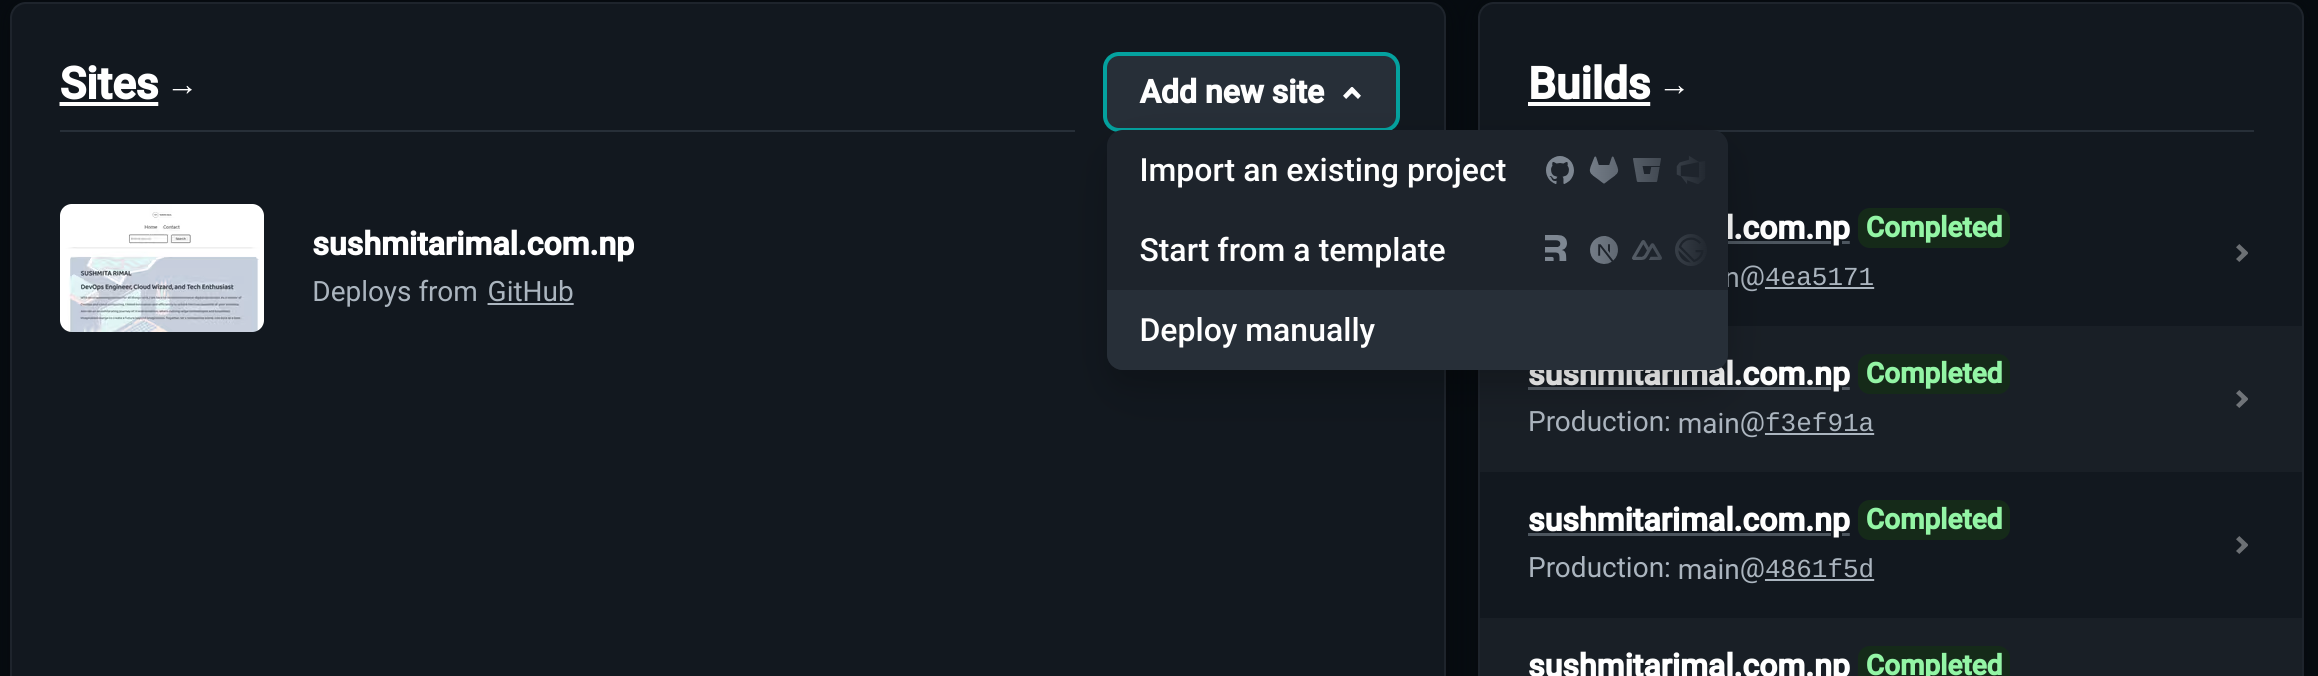
We'll choose the first option, which is to import an existing project. The other two methods will be discussed briefly later in this article.
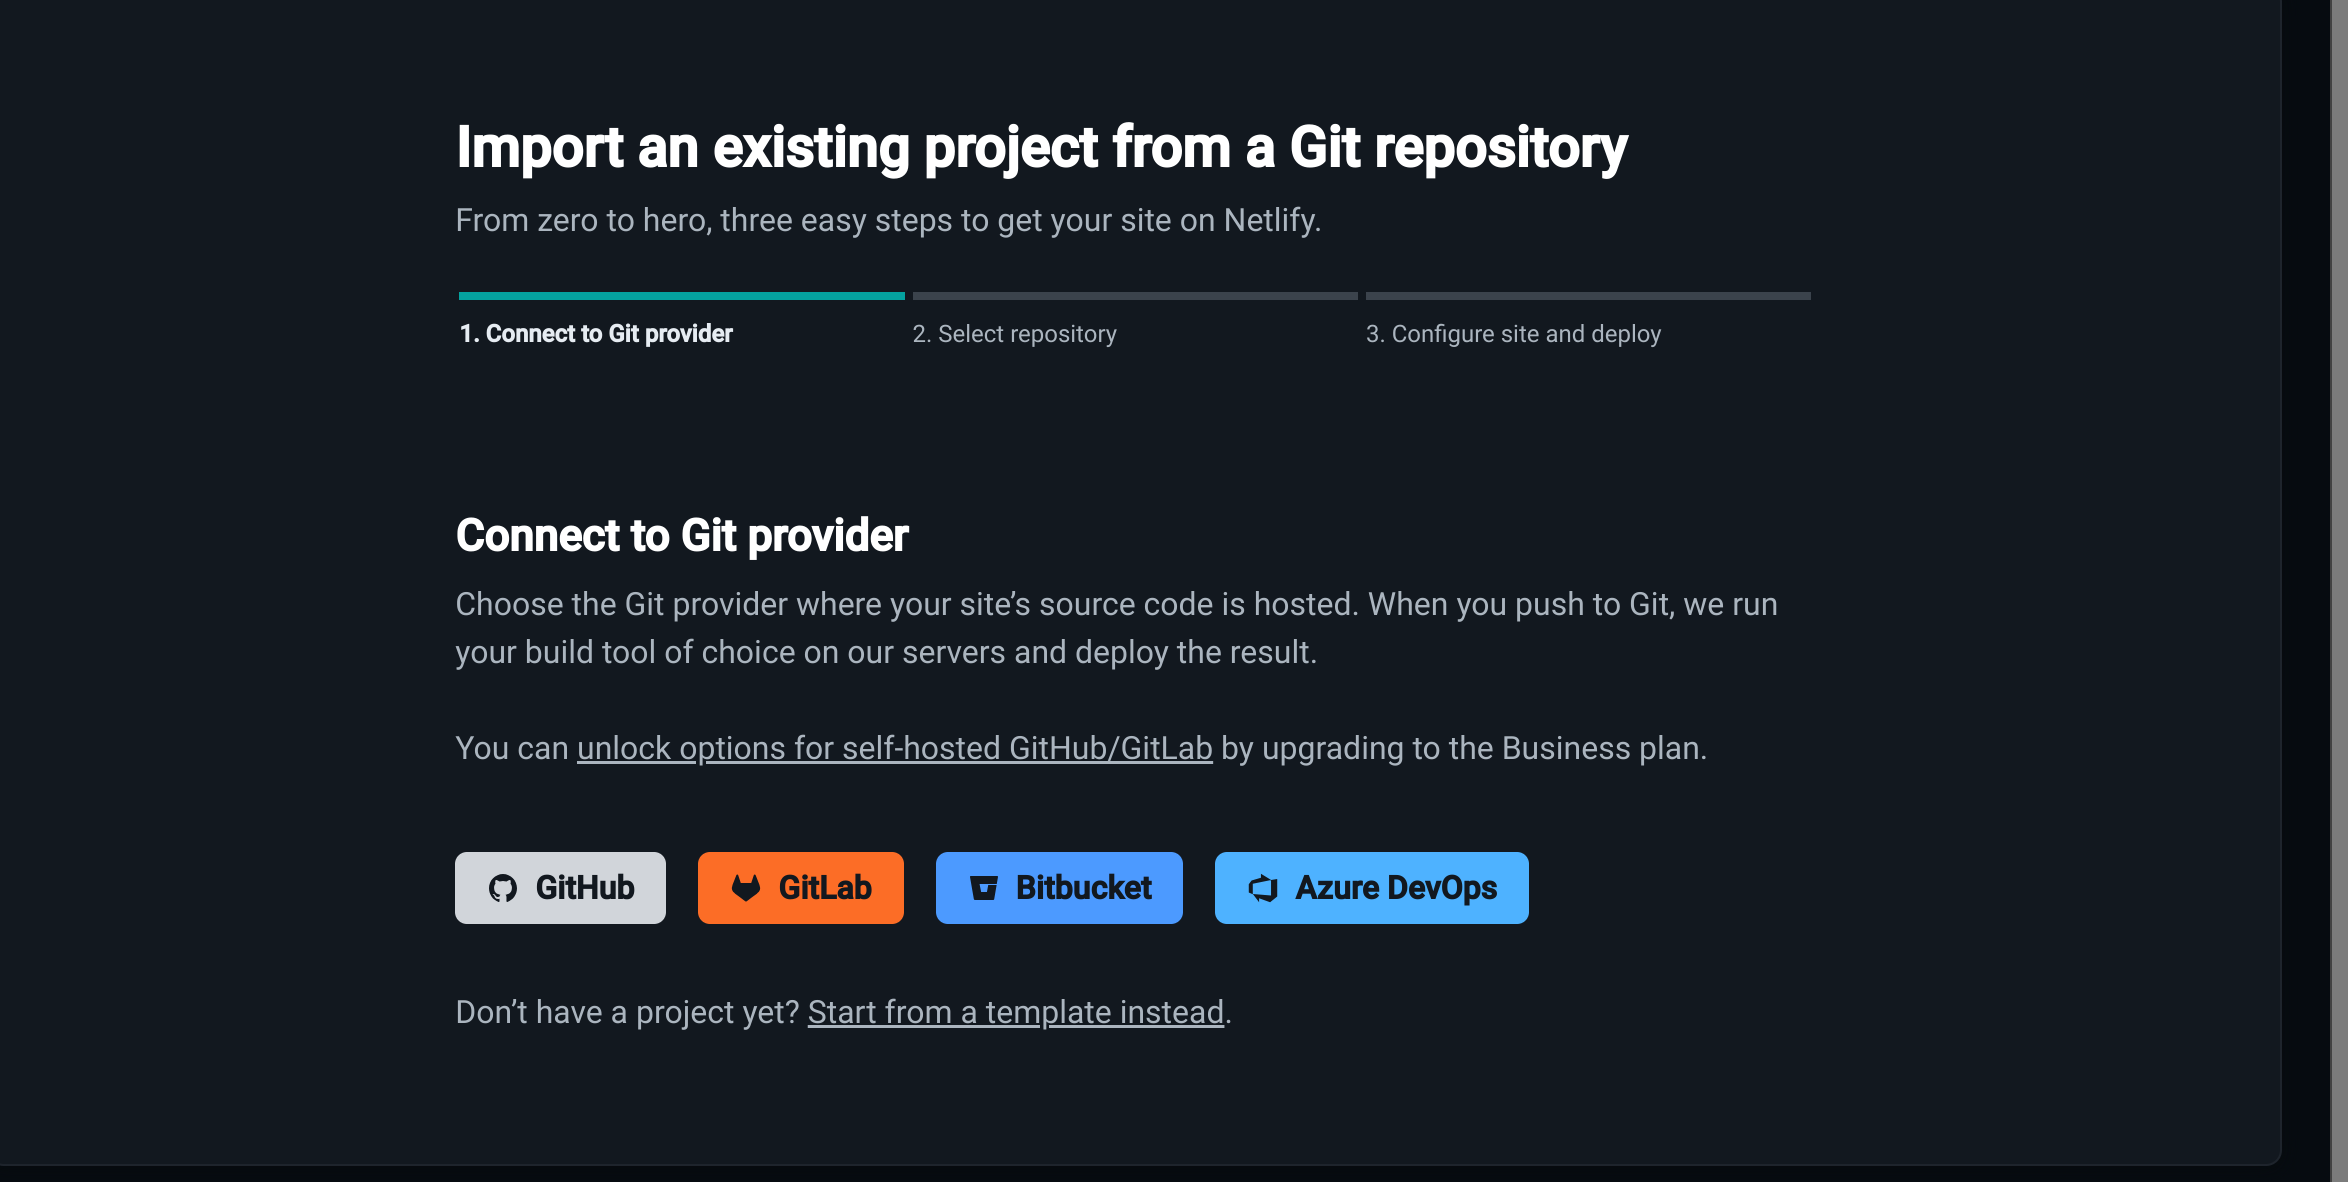
Step 3: Connect to a Git provider
Choose the Git provider for your website's source code. Github in this case.
Step 4: Choose the Repository
Select the repository and branch you want to deploy from.
Step 5: Configure the site’s settings
The options for deploying the website can be configured here. Set the Deployment Branch option to main (or whichever branch you intend to deploy).
You can go ahead and click Deploy Site if it's a simple static page.
But, if you're using a build tool or want to add some other options, you'll need to configure the build settings.
Step 6: Deploy your website
You will now be directed to the Site overview page of the newly created webpage. The automated build process takes place here. With Netlify, the deployment process takes around a minute or less.
Your website has now been launched and is accessible via the internet. To check it out, click on the green link.
Additional Points
Custom Domain
Note: you want to use a custom domain and if you don't have one.
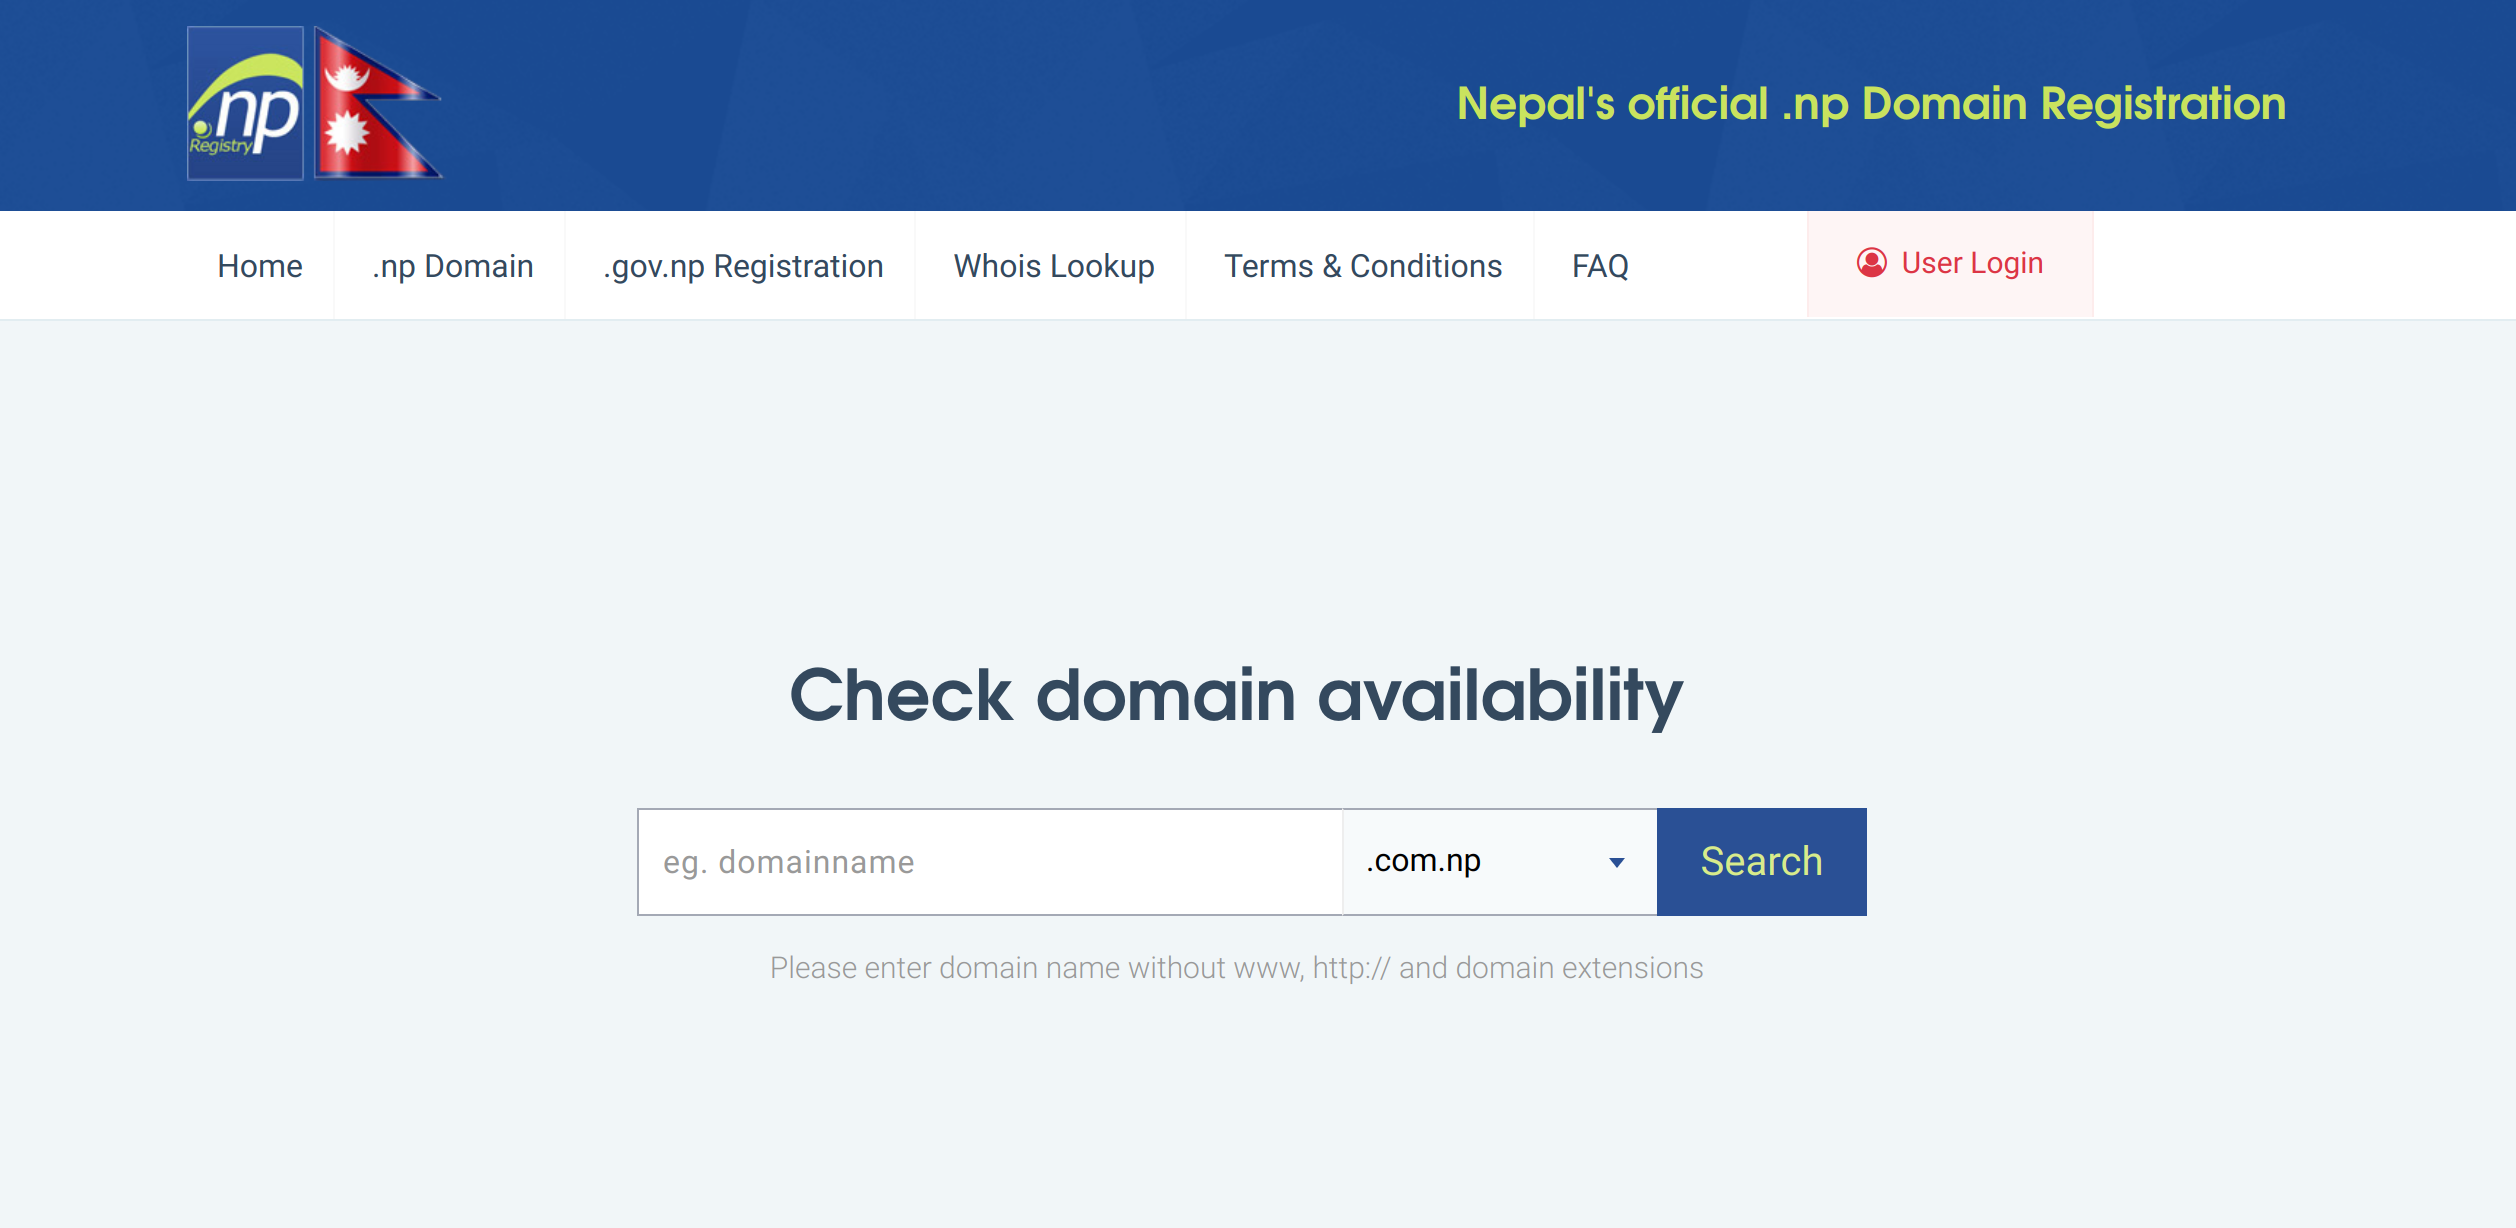
For a detailed guide on how to register a .com.np domain, check out my previous blog post here.
Now that you have your .com.np domain, it's time to connect it to your website hosted on Netlify. Log in to your Netlify account and navigate to the site you want to link with the custom domain.
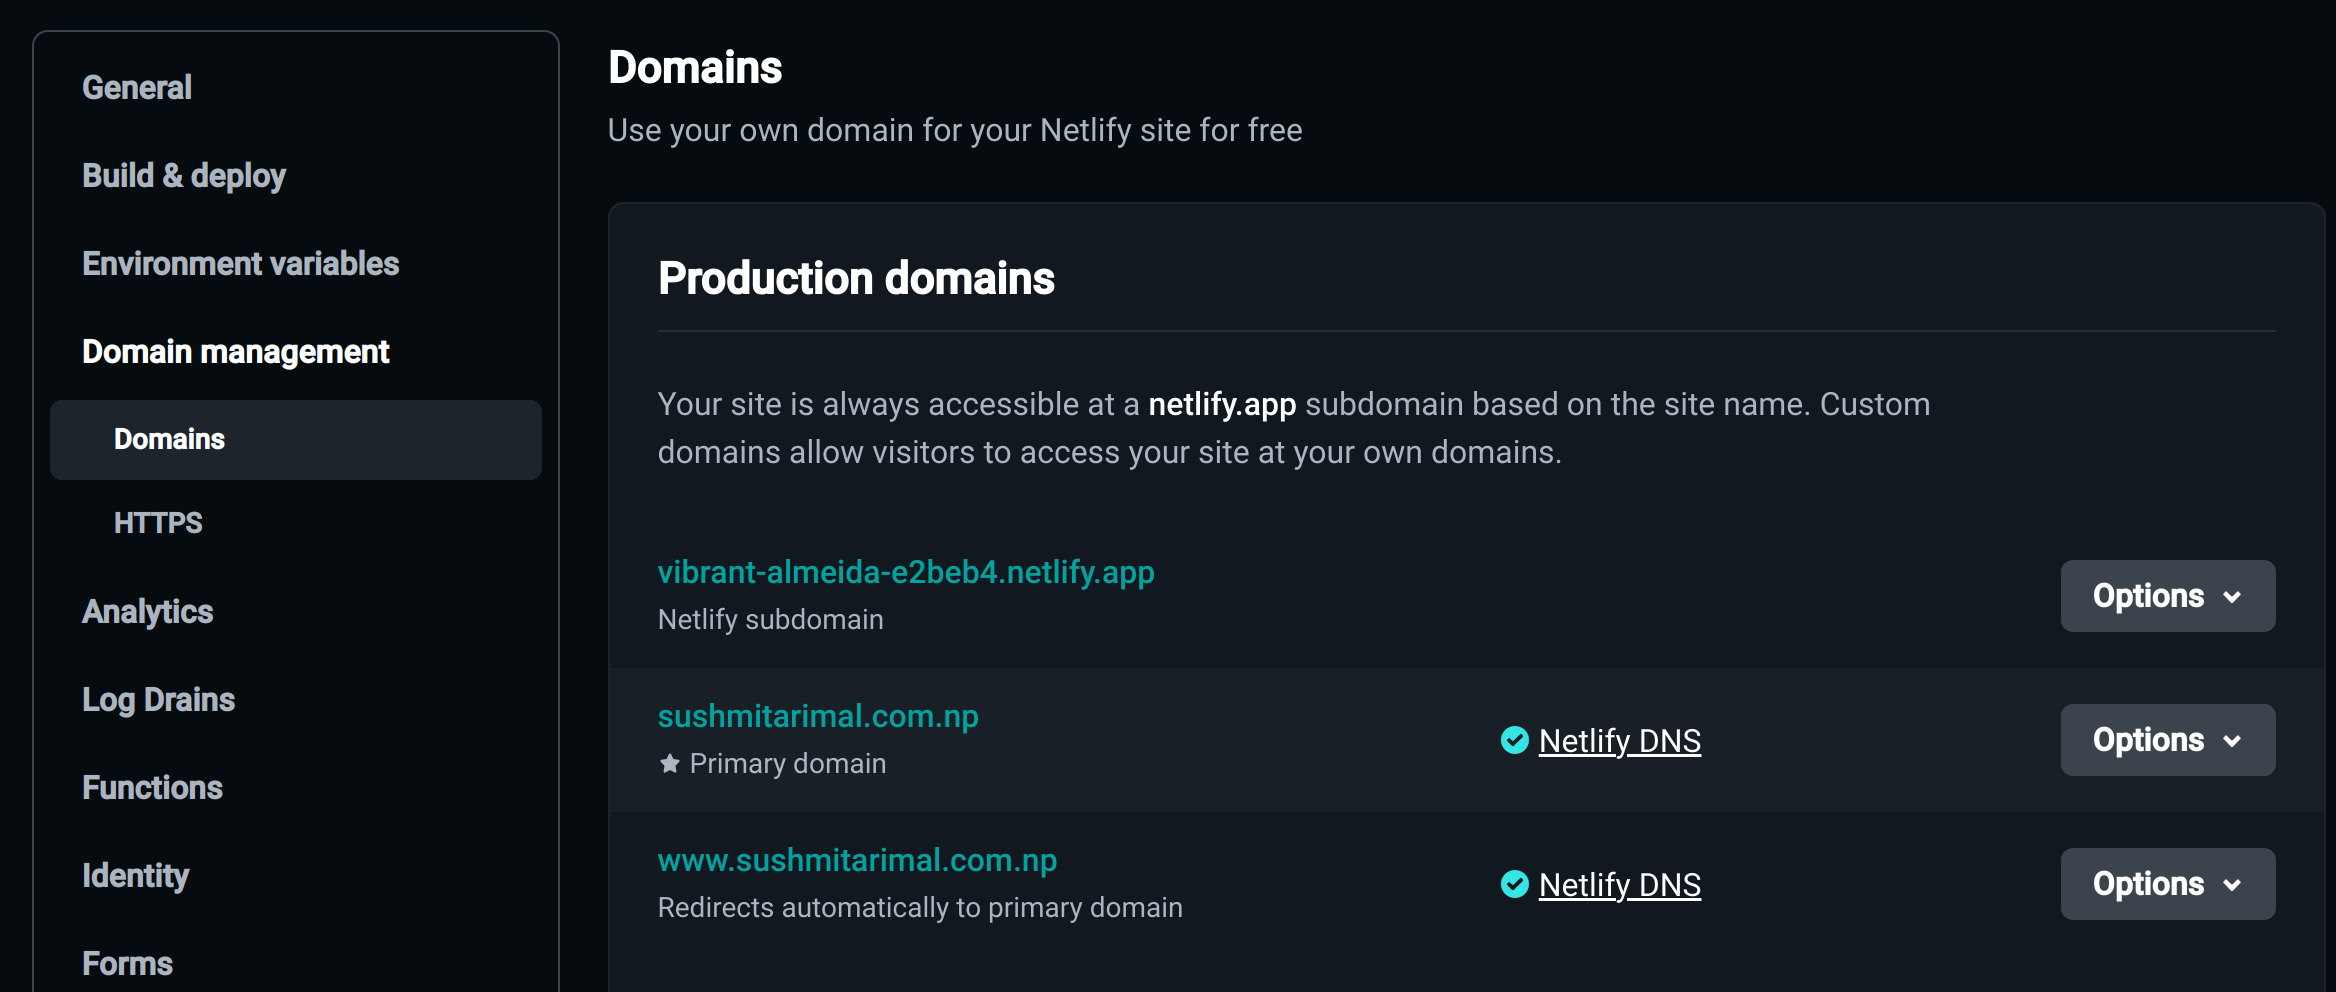
In the site settings, find the "Custom Domains" section and click "Add Custom Domain." Enter your .com.np domain name and follow the provided instructions to configure your DNS settings.
Step 7: Verify DNS Configuration
Once you've updated your DNS settings, it may take some time for the changes to propagate across the internet. You can use online tools like "DNS Checker" to verify the status of your DNS configuration. Once the changes are propagated, your .com.np domain will be successfully connected to your website on Netlify.
Toggle the Options dropdown and select Edit site name from the list. After that, type in the name you want to use, and save it.
Netlify Drop
Remember how we said in Step 2 of the first method that there are three ways to add a new site to Netlify? The "Deploy manually" approach, also known as Netlify Drop, is used here.
You can create a new site by simply dragging a project folder on your computer to the deploy dropzone in your browser.
Netlify Templates
The other way of adding a new site is by using Netlify Templates. This is mainly used to create Jamstack sites, or when you want to add Netlify CMS to an existing site.
Make changes to your deploy
Anytime you link Netlify to your Git provider, such as Github, it immediately updates when it detects a new change to the branch/repo that is connected.
After you have made a change to the code in your text editor, all you have to do is drag and drop the folder again into the deploy dropzone.
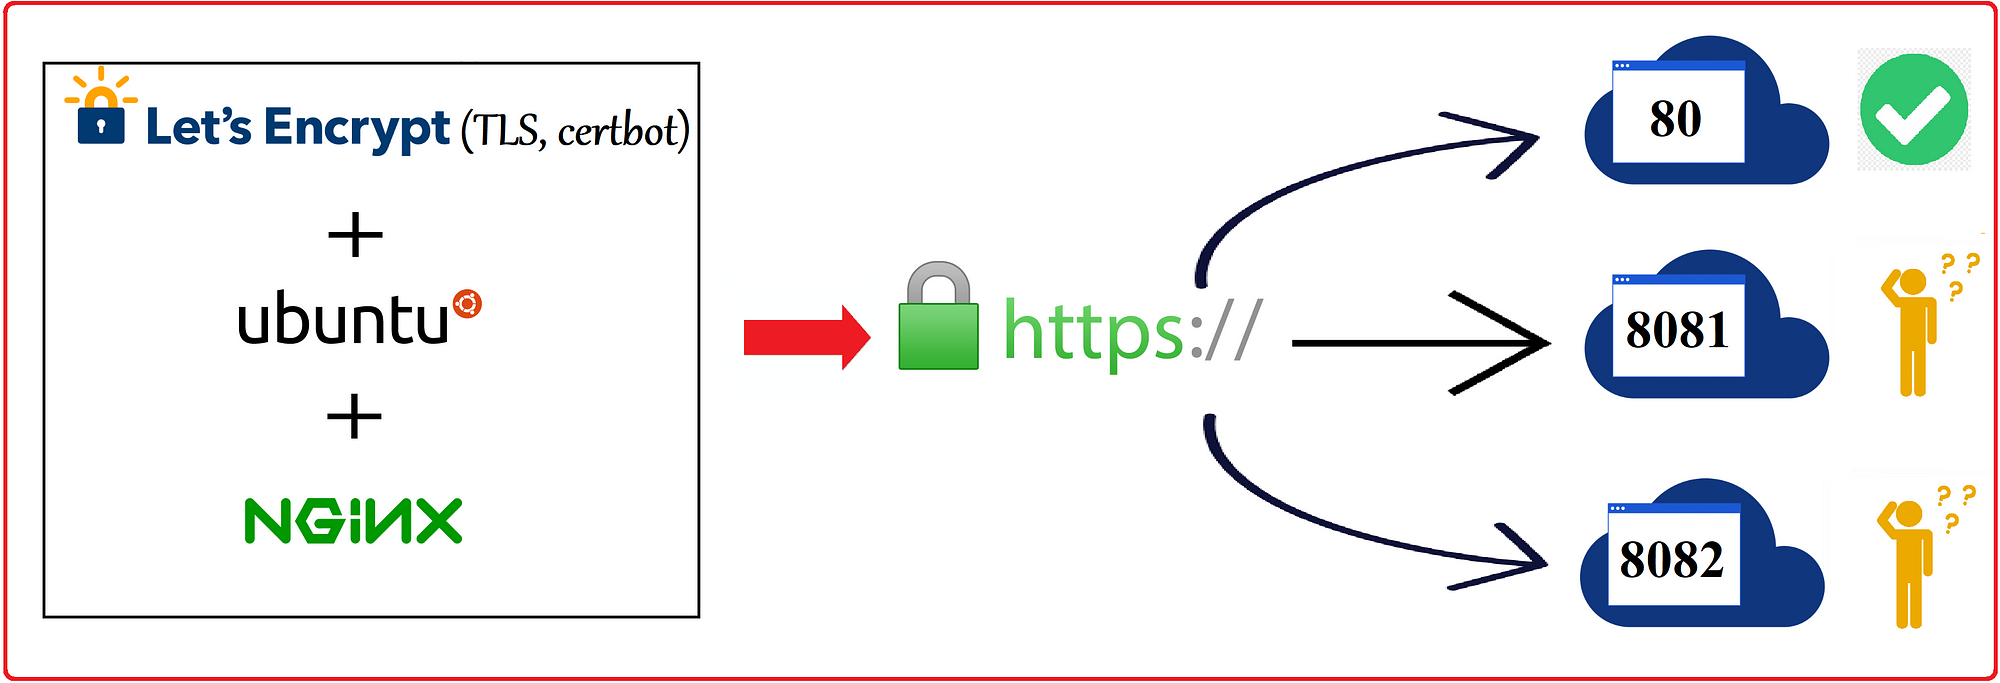
Your sites are secured
Another interesting thing about Neltify is that your sites are HTTPS enabled (Hypertext Transfer Protocol Secure) with its Transport Layer Security (TLS) protocol option with a Let's Encrypt certificate.
All of this ensures that your Netlify-hosted sites are:
- Secure: Protects users' information from being stolen, particularly when forms or data are being submitted
- SEO optimized: Would rank higher than sites that are not secured
Conclusion
Congratulations! Your website is live, up and running. And you can now share it with anyone using the customized URL.
That's it. Setting up your website on Netlify is as simple as that. I hope you found this post to be helpful. If you liked it, please leave a like and a comment.
Now go off and create amazing things, and share what you've created with the rest of the world!
For a detailed guide on how to register a .com.np domain, check out my previous blog post here.
If you Liked my blog ,Follow on LinkedIn
People who read this also read